The short answer
Leave a secure open carrier in a quiet place, let the cat approach voluntarily, reward exploration, then practise brief door closing and lifting only when comfortable.
A carrier that only appears before a clinic visit can become an unpleasant cue. Keeping it accessible and pairing it gradually with calm experiences can help a cat enter voluntarily. This guide focuses on carrier training; preparing the veterinary appointment is a separate task.
At a glance: Leave the carrier open in a quiet place with familiar bedding. Reward the cat for approaching and entering on their own. Only when that is comfortable, briefly close the door, then practise lifting. Go back a step if the cat becomes distressed; urgent veterinary care cannot wait for training.
| Stage | What to practise | Move on when | Step back when |
|---|---|---|---|
| Carrier in view | Leave it open and stable with familiar bedding | The cat approaches, sniffs or rests nearby by choice | The cat avoids the room or stops taking rewards at that distance |
| Voluntary entry | Place rewards at the entrance, then farther inside | All four paws go in, the cat pauses, then leaves calmly | The cat crouches, stretches to avoid entering or rushes out |
| Door | Move it, close it for one second, then reopen | The cat stays relaxed and can eat or explore afterwards | The cat hits the door, pants, vocalises or tries to escape |
| Lifting and carrying | Support the base, lift briefly and take a few steps | The cat returns to their usual posture without agitation | The cat loses balance, hunches or takes time to recover |
| Short journey | Practise a short trip that does not always end at the clinic | The cat tolerates movement and settles again afterwards | Stress increases or motion sickness appears |
Add one stage at a time and let the cat’s comfort set the pace. If they become distressed, return to a step they can tolerate.
Choose a safe carrier that is easy to use
Check that it is sturdy, ventilated, easy to clean and securely fastened. It should let the cat turn and settle comfortably while remaining stable during travel. A wide opening and removable top can make both entry and a veterinary examination easier, with less handling.
Before training, check that both halves, screws and fasteners are complete. Put a non-slip layer under the bedding if the carrier floor is slick. In a multi-cat home, each cat will usually need a secure carrier: sharing a confined space on a journey can cause tension even between cats that normally live together comfortably.
Leave it in view
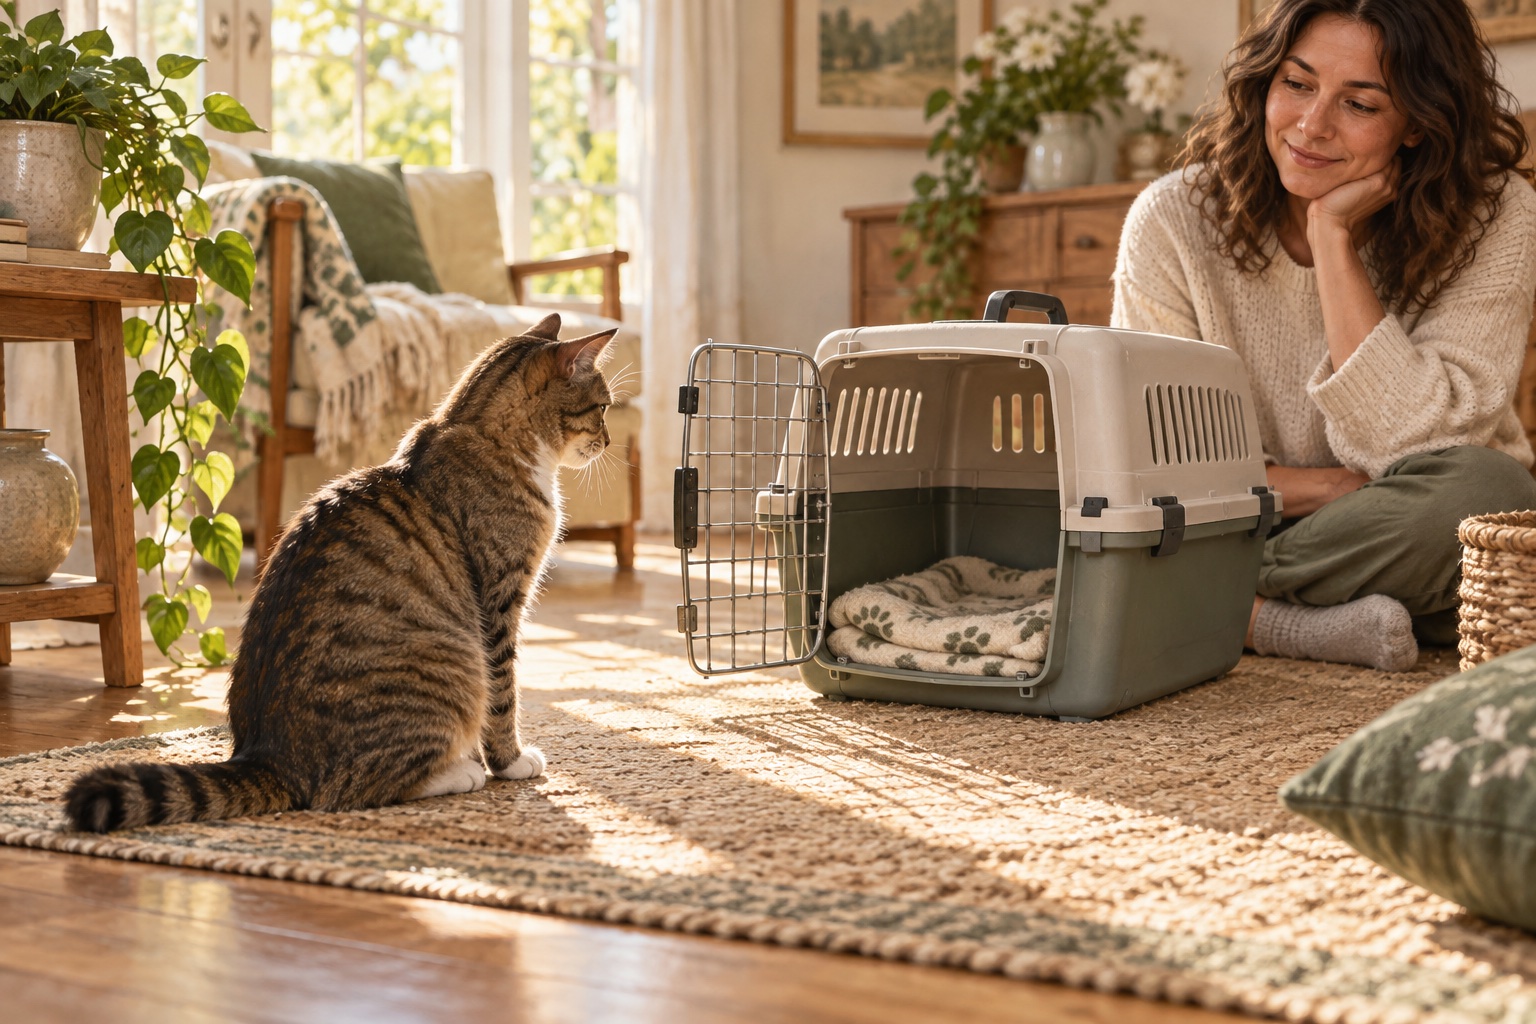
Place the open carrier in a quiet area with familiar bedding. If the cat avoids it, start with bedding nearby and move it closer gradually. Do not chase or shut the cat in at this stage. Reward voluntary approaches with something they enjoy that fits their diet.
How to train your cat step by step
1. Make the carrier part of the room
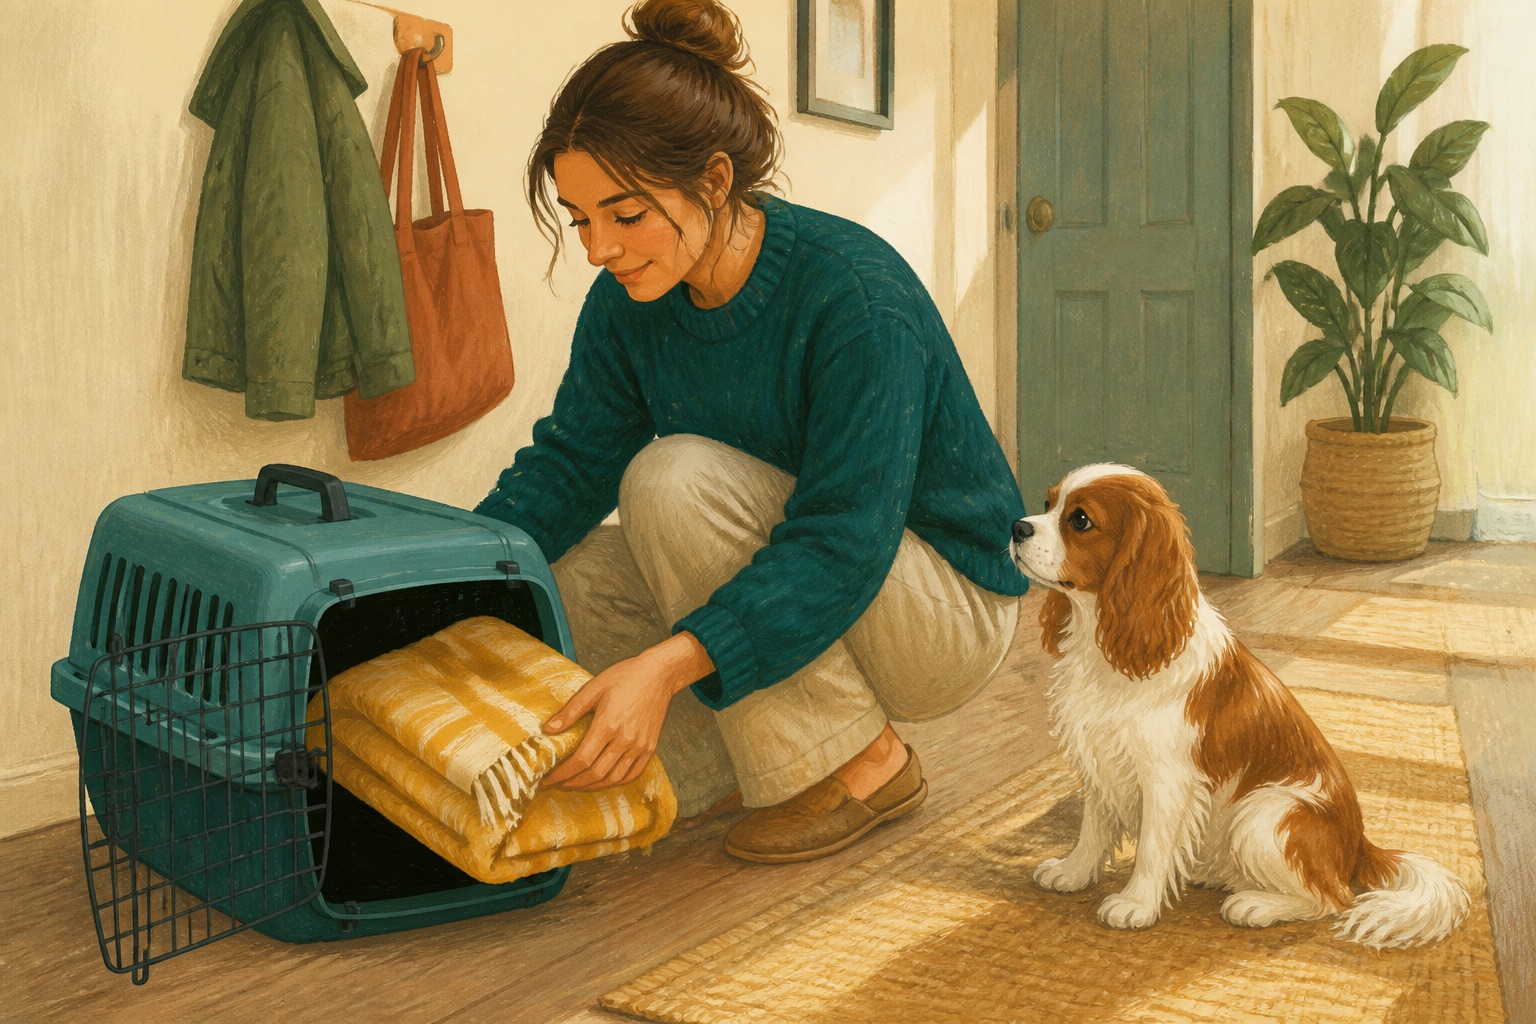
Remove the door if the design allows it, or secure it so it cannot move unexpectedly. Leave the entrance clear and let the cat choose whether to investigate. A session can simply mean scattering a few treats around it; there is no need to call the cat or move them closer by hand.
2. Reward voluntary entry
Move rewards towards the entrance over several repetitions. When the cat can put their head inside without tension, place the next reward slightly farther in. You can occasionally serve a small portion of a normal meal inside if the cat eats comfortably and this suits their diet. Never surprise the cat by shutting the door during the first full entries.
3. Add the door and duration
Move the door a few centimetres, reward calm behaviour, then leave it open again. Next, practise very short closures. Increase one difficulty at a time: either close it for longer, move away, or lift the carrier. Changing everything at once makes it hard to identify what caused the reaction.
4. Practise lifting and moving
Support the carrier from underneath so it does not swing. Start with a lift lasting a few seconds, place it down and open it while the cat is calm. Later, take a few steps around the home. Only then add the route to the car, lift or front door.
5. Rehearse a short journey
A brief practice trip that ends back at home helps prevent every departure from predicting a clinic visit. Secure the carrier in the vehicle so it cannot slide, and avoid draughts or temperature extremes. If the cat drools, vomits or appears unwell during motion, discuss this with the veterinary team before repeating trips.
Time is not the only measure of progress. Look for a loose posture, willingness to take a reward and renewed exploration after each novelty. Flattened ears, very dilated pupils, freezing, panting, hitting the door or repeated escape attempts mean the step is too difficult. Finish with a version the cat can tolerate and return to it later.
Before travel
Check the fasteners and base, add familiar bedding and secure the carrier during the journey. Allow time so entry does not turn into a chase. If an urgent appointment is needed and voluntary entry is not possible, ask the clinic for advice tailored to your cat. Do not delay emergency care to finish training.
Partly cover the carrier with a light blanket if this helps reduce visual stimulation, while keeping ventilation clear. Carry it close to your body and support it from underneath. At the clinic, avoid putting it on the floor beside dogs or in a busy route when a quieter raised place is available.
Prepare for a veterinary visit.
Why does a cat avoid the carrier?
The carrier may predict a stressful journey if it appears only on appointment days. Some cats also dislike an unstable base, an unfamiliar smell, being chased or a door that closes before they have explored. The solution is to change the association gradually while keeping the cat in control of approach and entry.
Progress depends on behaviour, not a promised number of days. A cat that investigates for one moment has made a useful first step. A cat that hides, freezes or repeatedly tries to escape needs an easier stage. If the cat seems unwell or has a painful condition, discuss handling with the veterinary team.
How should you choose and position the carrier?
A secure hard-sided carrier with good ventilation and a stable floor is practical for many cats. Check that the fastening works before travel; a removable top can help with examination at the clinic. Keep the carrier on the floor during early practice and let it remain part of the room between appointments, if space allows.
Use familiar bedding rather than a strong new scent. Keep the opening unobstructed and offer the cat a route away. If you have several cats, do not make one carrier a contested resource or trap a cat inside while another blocks the exit.
What if your cat will not go near it?
Do not begin by lifting the cat toward the entrance. Put a familiar blanket at a comfortable distance and reward ordinary calm behaviour there. Move the blanket closer over several sessions only while the cat remains relaxed. You can leave the carrier in place without asking the cat to interact every time they pass.
If a scheduled visit is approaching and the cat still avoids the carrier, call the veterinary clinic for a tailored plan. The clinic can advise on handling and appointment preparation. Do not use a generic online sedative or restraint technique.
Mistakes that commonly slow progress
- Putting the carrier away after every journey. It keeps its role as a warning that something unusual is about to happen.
- Chasing the cat around the home. The chase adds fear of both the carrier and the person carrying it.
- Closing the door after the first full entry. A promising exploration can become an experience of being trapped.
- Practising only on appointment day. There is no time to adjust the difficulty.
- Adding the door, duration and movement together. Change one variable and observe the response before adding another.
- Persisting when the cat is ill or painful. Ask the clinic for an appropriate handling plan.
For the broader appointment checklist, see how to prepare for a veterinary visit. For everyday home choices unrelated to transport, see indoor cat enrichment.
Build comfort step by step
- Leave it available
Add familiar bedding and allow unforced investigation.
- Reward entry
Offer a suitable treat inside when the cat chooses to enter.
- Practise the door
Close briefly, reopen and progress only while the cat remains comfortable.
- Lift from underneath
Keep the carrier stable during a short lift before walking farther.
- Rehearse a short trip
Secure the carrier and practise movement before a clinic day.
Do not delay urgent care
If urgent transport is needed, call the veterinary clinic for advice suited to your cat instead of waiting to complete training.
Sources and further reading
This general guidance was researched against the following veterinary and animal-care sources:
Frequently asked questions
How long does cat carrier training take?
There is no fixed number of days. Move to the next step only when the cat is comfortable with the current one.
Should I leave the carrier out all the time?
Keeping it visible between trips can help it become familiar, if you have a suitable quiet place.
What if my cat is afraid of the carrier?
Begin with bedding at a comfortable distance and reward voluntary calm approaches. Avoid chasing or forcing entry during training.
When should I close the carrier door?
Only after the cat enters and remains comfortable. Close it briefly, reopen, and build up gradually.
What if we need an urgent vet visit?
Contact the clinic for handling advice suited to your cat. Do not delay urgent care while training.
These articles offer general, everyday guidance. They do not replace advice from a qualified veterinary professional.
A practical next step
Keep carrier practice and the next appointment together.
Use Nuzzleway to note each comfortable step and keep the confirmed veterinary date visible.